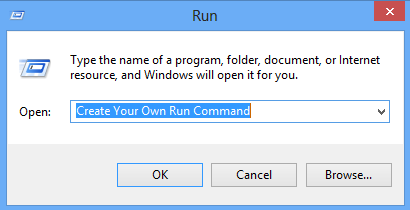
How to Create your Own RUN Command
Run is accessed by using Shortcut WIN + R. This RUN command makes easier to access applications with a small command names and no need to search for application in application list.
 Many commands are in built along with windows. operating systems. For example commands like "notepad" for Notepad application and "regedit" for registry editor.
Other than inbuilt commands we can also create our own run commands easily for any application or for any folder to access them easily.
Step 1: Select the software for which you want to make custom Run command. For example, let us consider Mozilla Firefox. You may use any application or software other than which is already there in Run command.
Step 2: In next step Right click on the desktop and make a new Shortcut.
Step 3: As you select the Shortcut, it will open up a dialog box asking the path of the application or software for which you want to create
Step 4: Now you need to provide the path of the application's .exe file i.e. "firefox.exe". It can be found out in the C drive under Program files.
Step 5: After that just provide a relative name for the Shortcut that means rename it with the name which will be used as your Run command. For example, "ff" for Firefox.
Step 6: Now click on Finish button. Then the shortcut of respective application will be created on your desktop screen.
Step 7: In the next step just cut and paste the created Shortcut into the root drive i.e. C:/Windows/. For this make sure you are the administrator of the computer.
Step 8: Now, you are done with the process of creating the Run command and you can Open Run Command and type "ff" to open Mozilla Firefox application.
Similarly you can perform above steps to Create Run Command for various other Programs too. If you want me to write a Particular article of your choice then you can Contact me anytime with the topic and i will try to publish it here on this blog soon

